Introduction
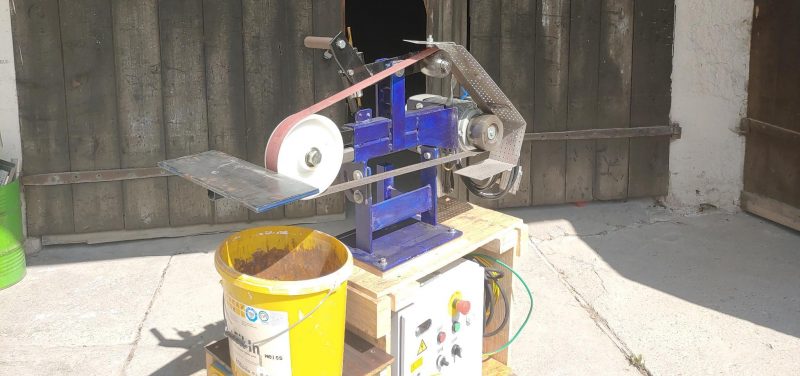
I love making knifes. It is passion, which started by cutting them from old saw blades and sharpening them on a simple grinding machine, but ultimately let me to build the 2×72 inch beltgrinder, shown in this post.
It all started with me having to do a compulsory internship before being allowd to start studying aerospace engineering. And with knife making as my favorite pastime, as well as a much too tight purse, I was looking for a way to get my hands on a cheap knife maker belt grinder. The “typical” 2×72″ grinder.
But, as living in Germany, and those being primarily found in the US with a – for a student – heafy price tag, I saw my opportunity, when I learnd about all the nice pieces of steel getting scrapped during my internship. I know what I had to do. After being given the ok from the company to use those metal scraps for my personal project I set out to create a CAD model and prepare the individual parts.
Special Features
So, apart from the cheaper price, what are the features of this belt grinder?
- A grinding surface, which is accesible from both sides, so that you can not only create crispy transitions on the blade, but also in case you want to use various grinding aids that there is always enough space.
- The grinding surface is replaceable with a rotating wheel to make hollow grinds or very small wheels for internal contours.
- In addition the grinding surface can be set to a wide variety of angles.
- The whole belt grinder can be tilted 90° for even more grinding options
- And last but not least the size of the sanding belts. In America they would be the typical 2×72″ belts, but here in Germany I went with 50*2000 mm. This is perfect for knife grinding, as it allows to apply a good pressure (as the grinding surface is not so wide) and 2000mm have a lot of abrasive material. Perfect for hardend steel, as the grind doesn´t get so hot.
Build Process
Sheet metal parts
Based on the CAD model I prepared all sheet metal parts first, as they seemed the easiest to do. Yeah, well. The mounting plate below is a typical case of meassure twice cut once, because you can guess, who had to modify it, after it was already welded to the belt grinder, because the slots were to short for the motor. But thank god, big mills exist, so that the whole belt grinder could be mounted on the bed.
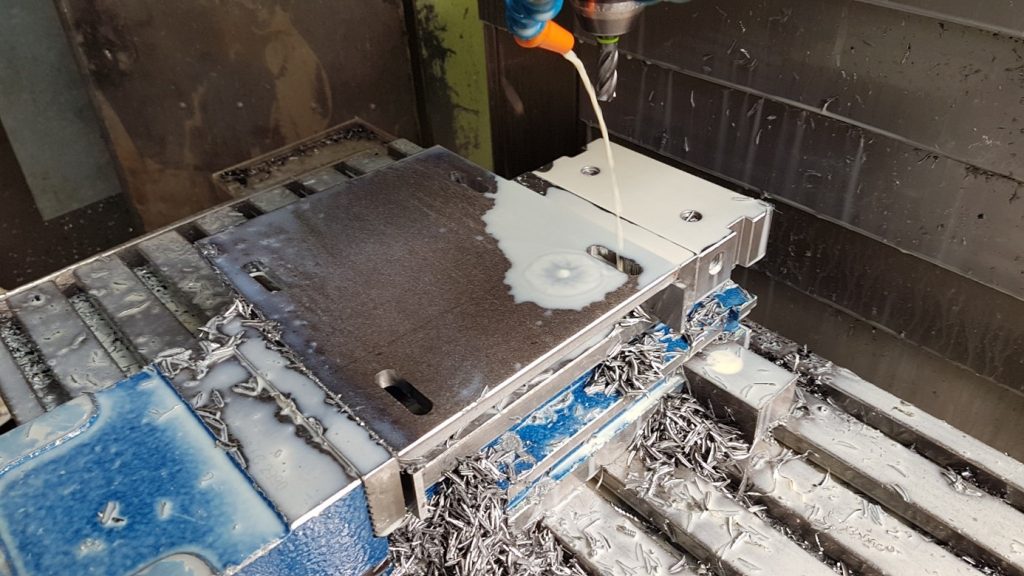
The mounting plate for the motor.
Rollers
The next step was preparing the rollers, the belt would run on. I turned them on the lathe, so they would have a nice convex outer contour, centering the belt on them. This is quite important, as you don´t want a belt with a speed of 30 m/s going rampage in your workshop.
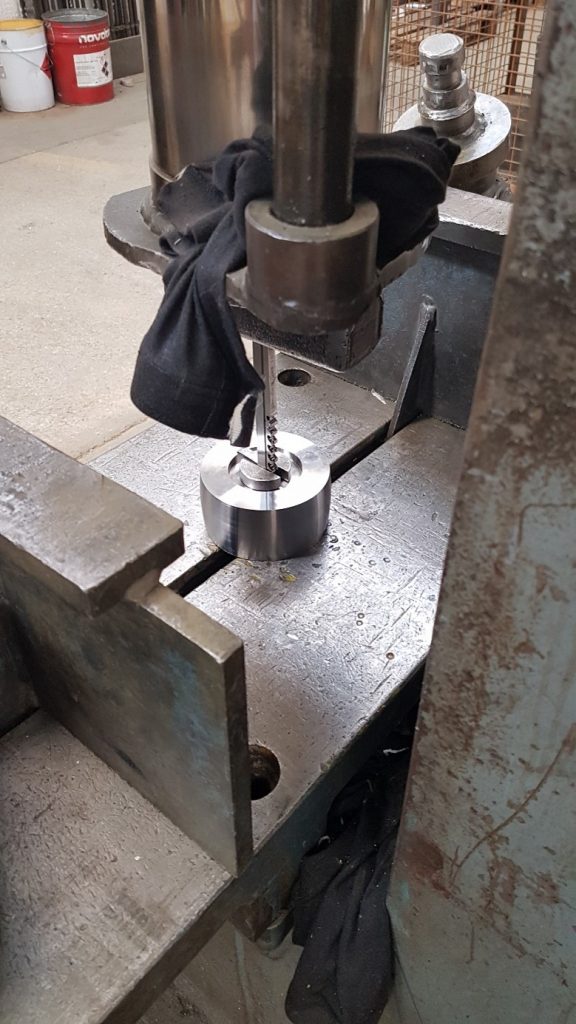
Pressing in a key way, to mount the roller to the motor.
Welding it all
As i mostly design the belt grinder to be made from square tubing and plate material it all came down to welding. Over all it went really well, but in my enthusiasm I made the stupid mistake to weld the full length between the square tubing, leaving the tube warped. Filing the welds down was fun…
Everything seemed to fit, but the circumference over all rollers was to long, so I had to shorten the plate to which the motor mount is welded by 50mm. This was after everything was already welded, of course.
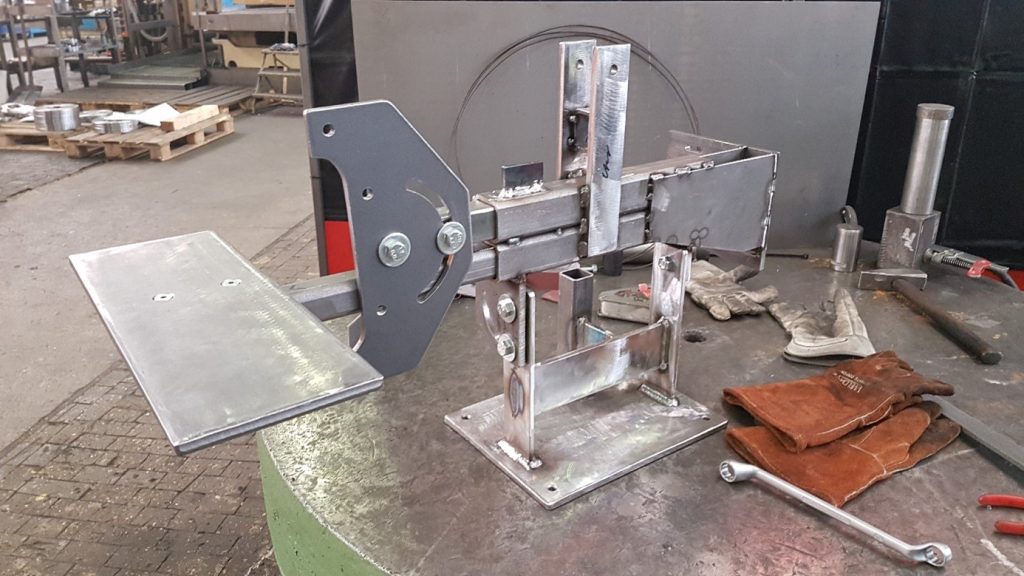
Everything welded together.
Electronics
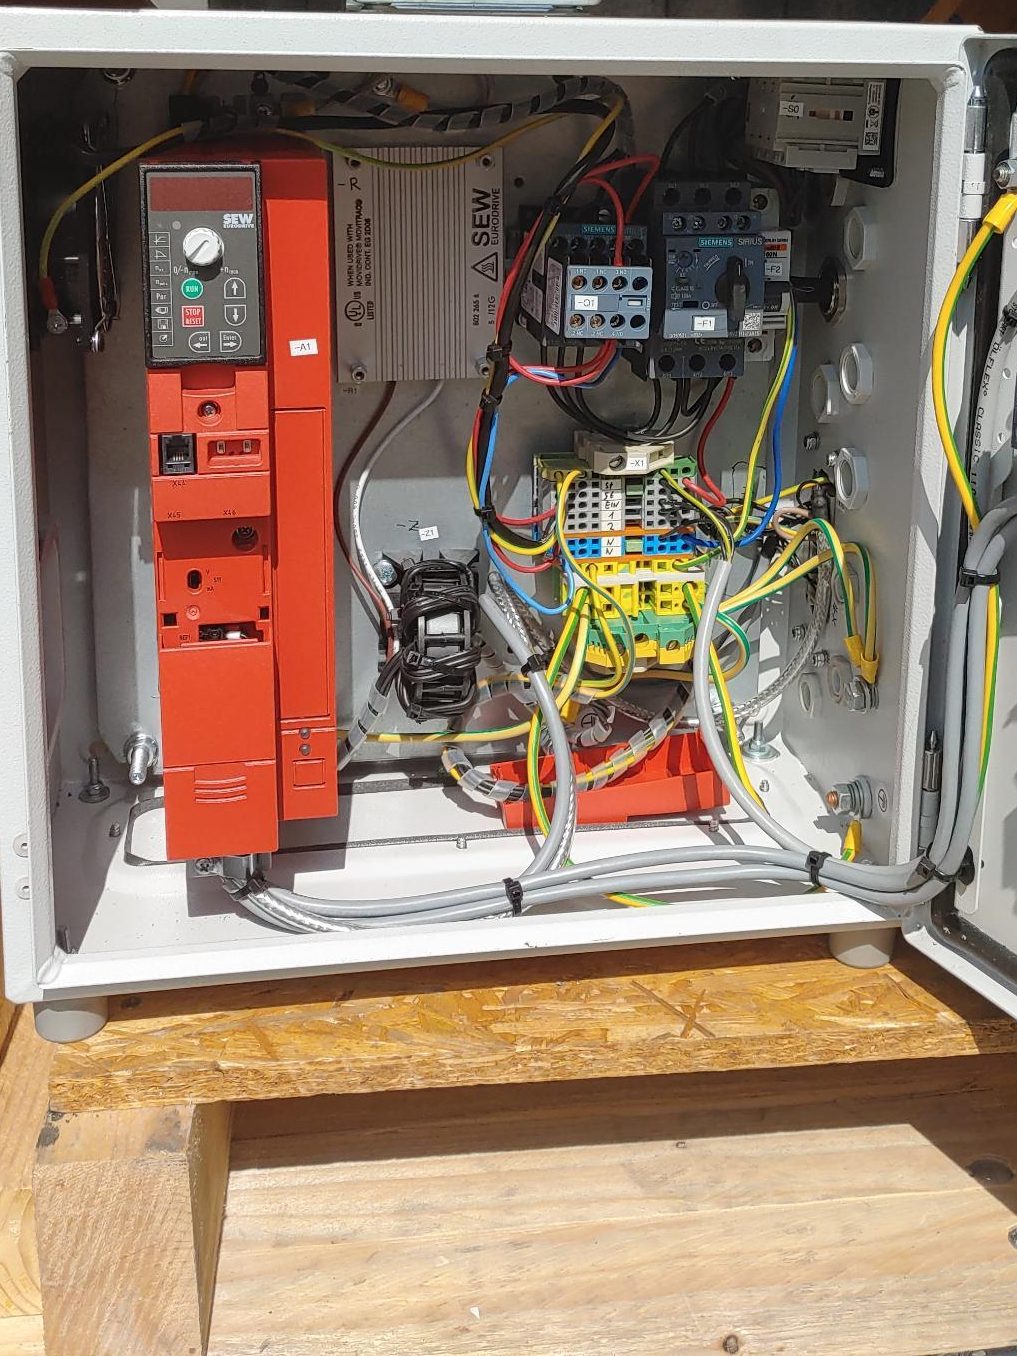
As motor I used a generic 3 kW 400V three phase motor from my favourite auction side. It is driven by a four kW variable frequency drive from SEW, allowing a completly stepless variantion of the motor speed between ~300 and 5000 rpm. Due to the increased leakage current, an additional grounding cable was added and a grounding point was installed in the house installation.
More details can the found in the schematics linked below, which my dad made.
Finished belt grinder
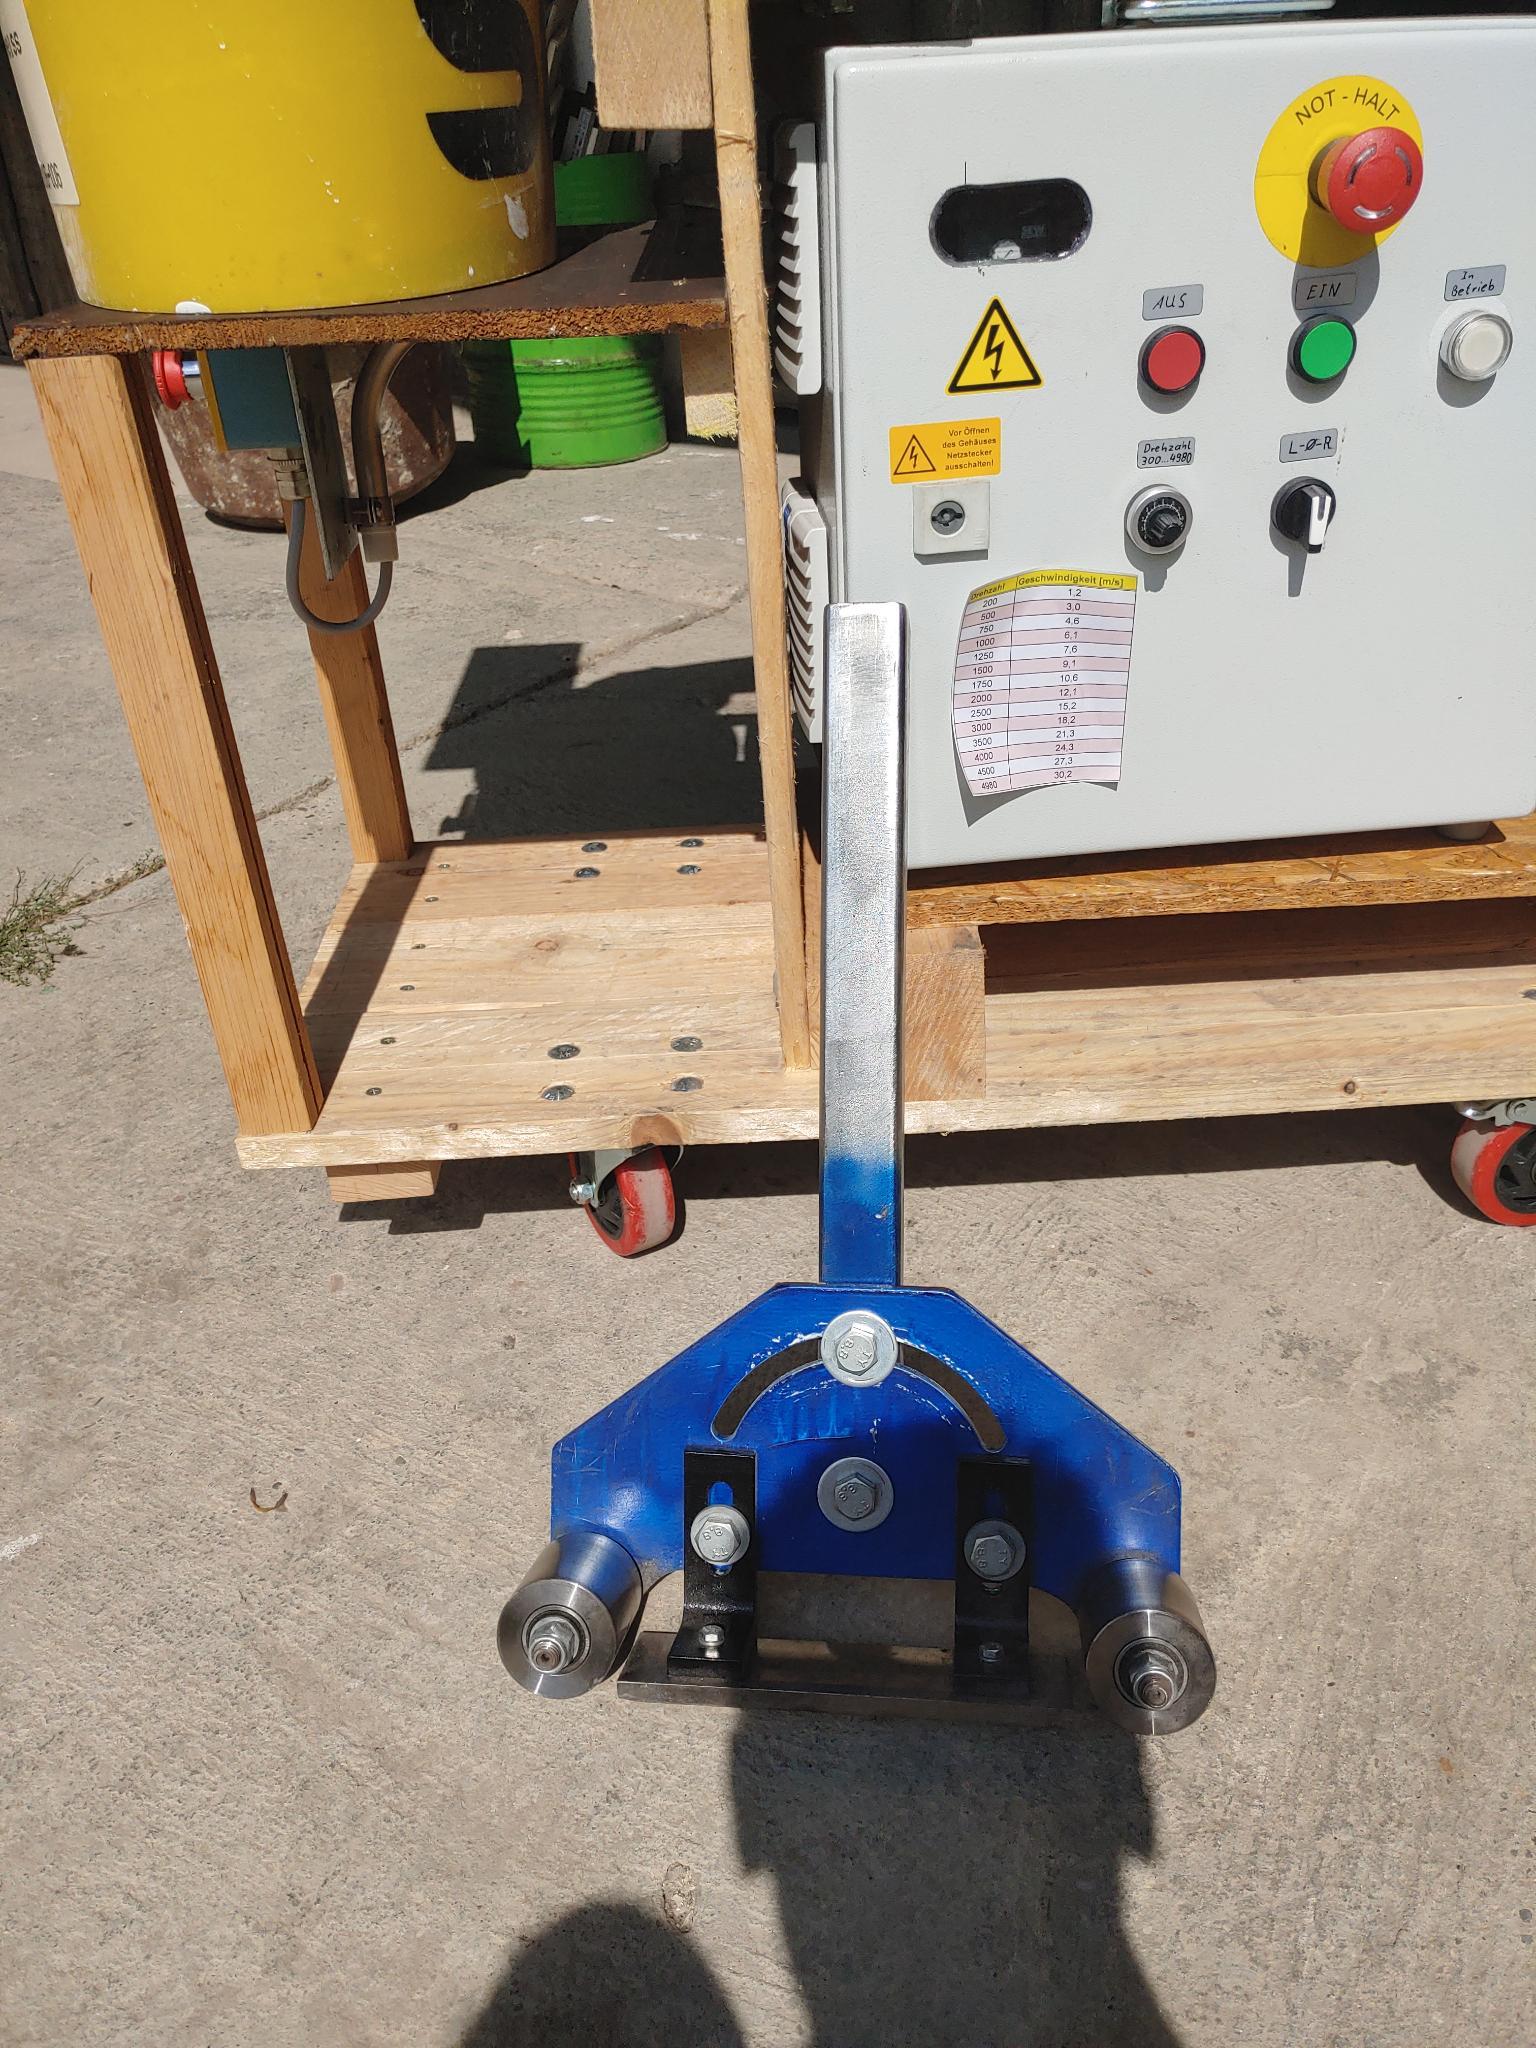
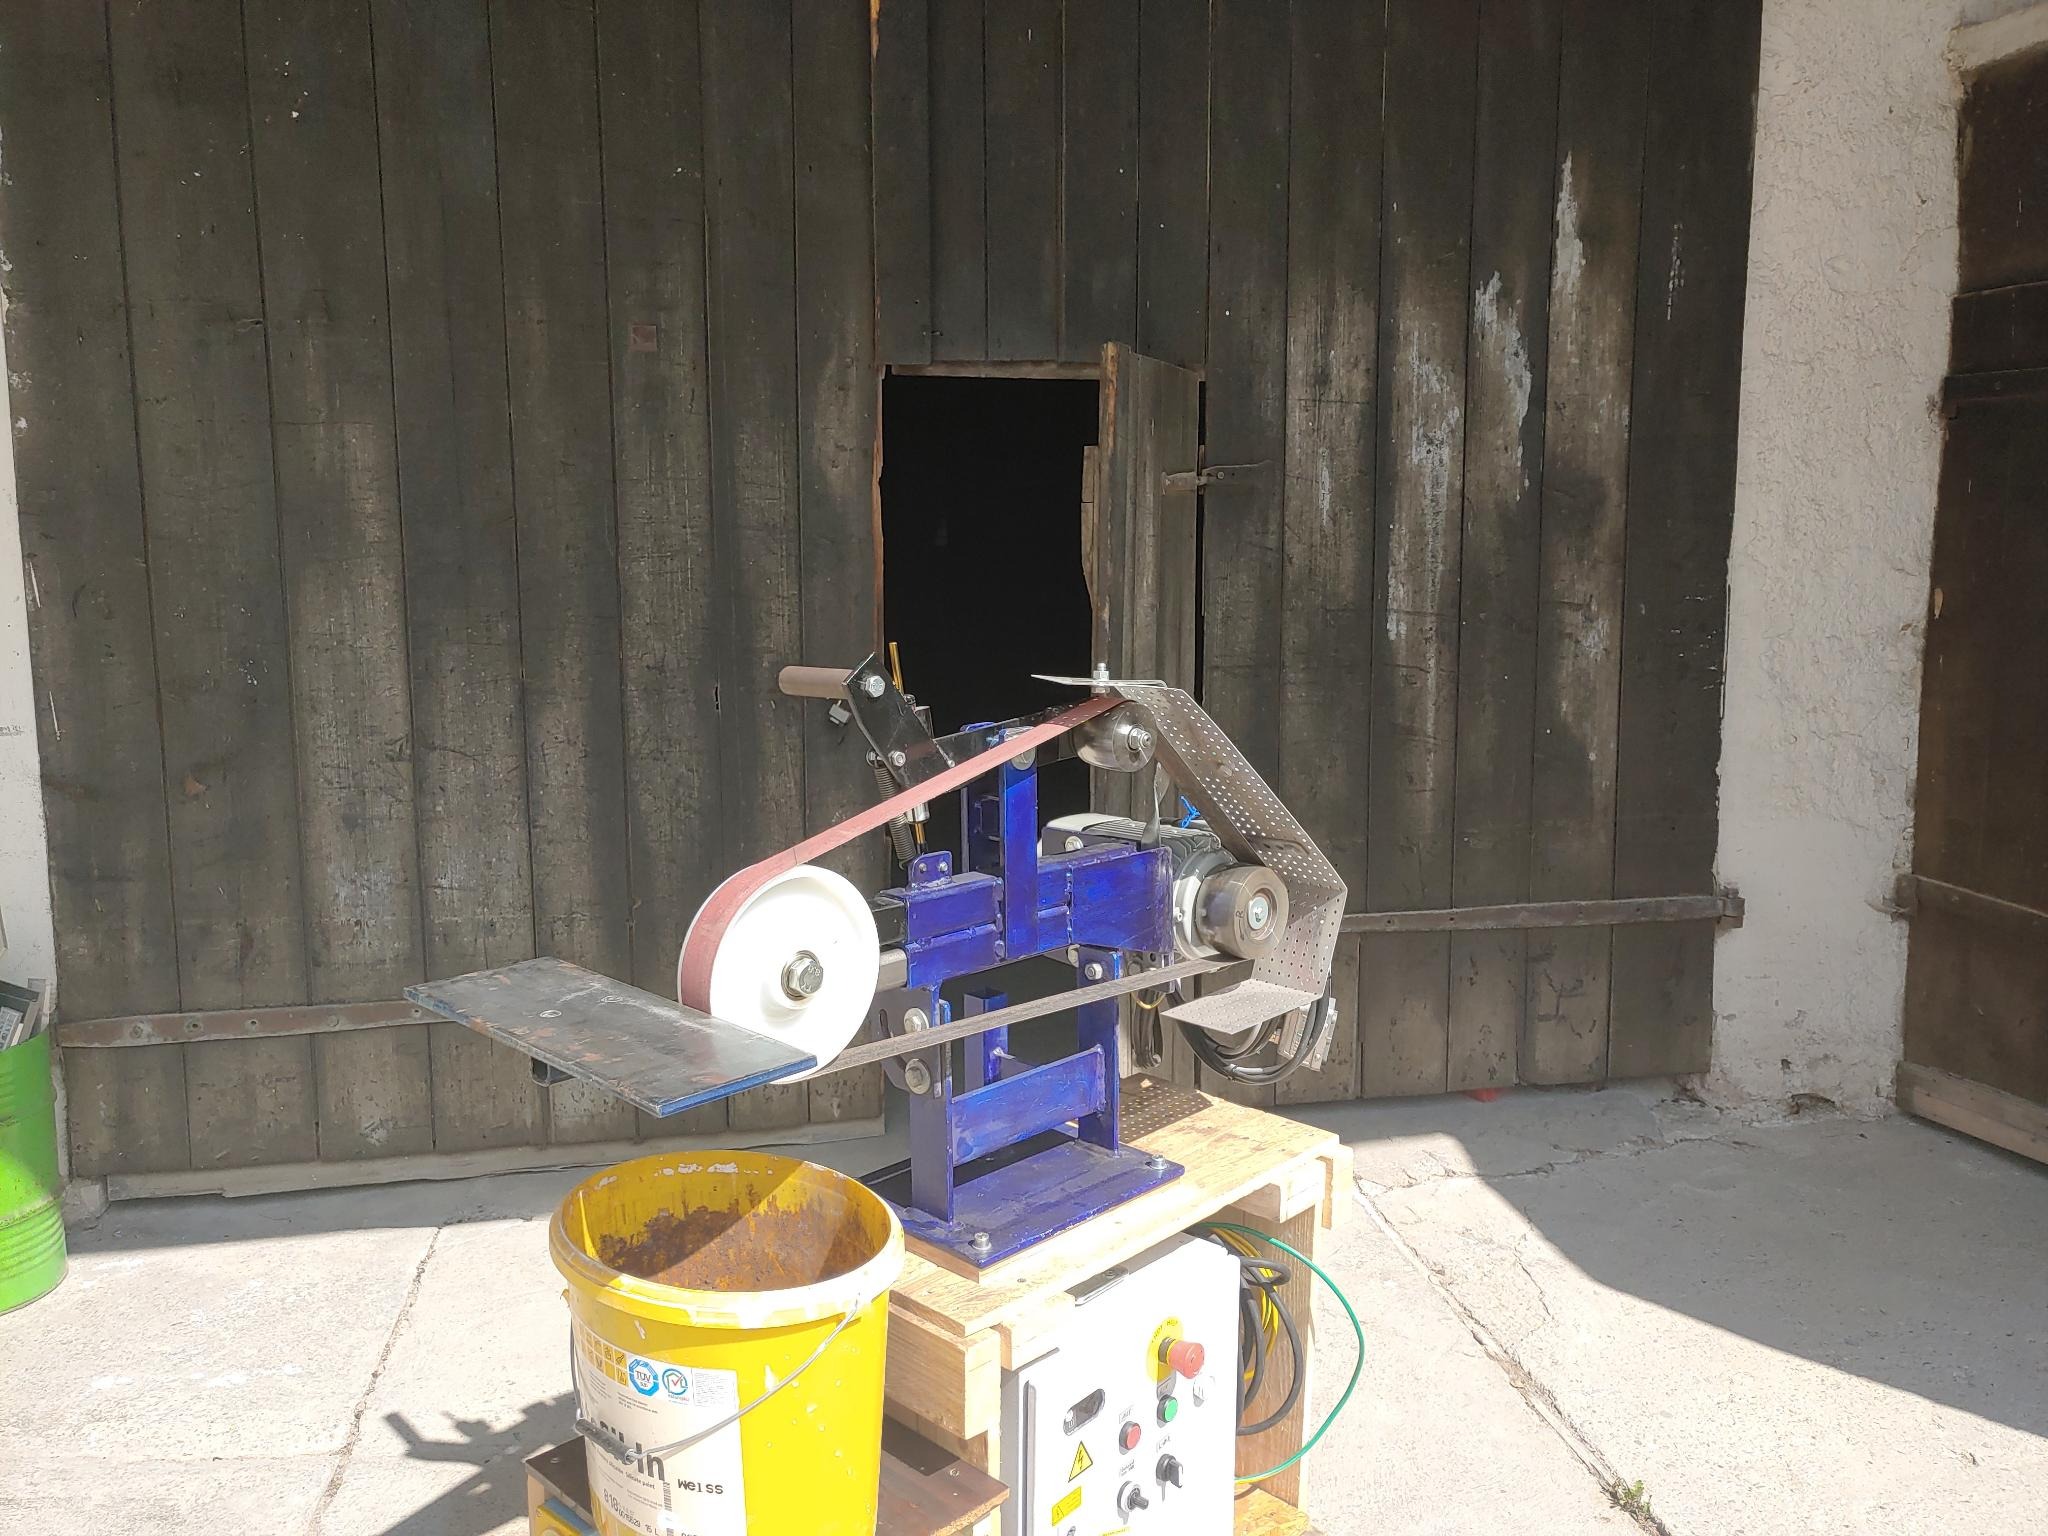
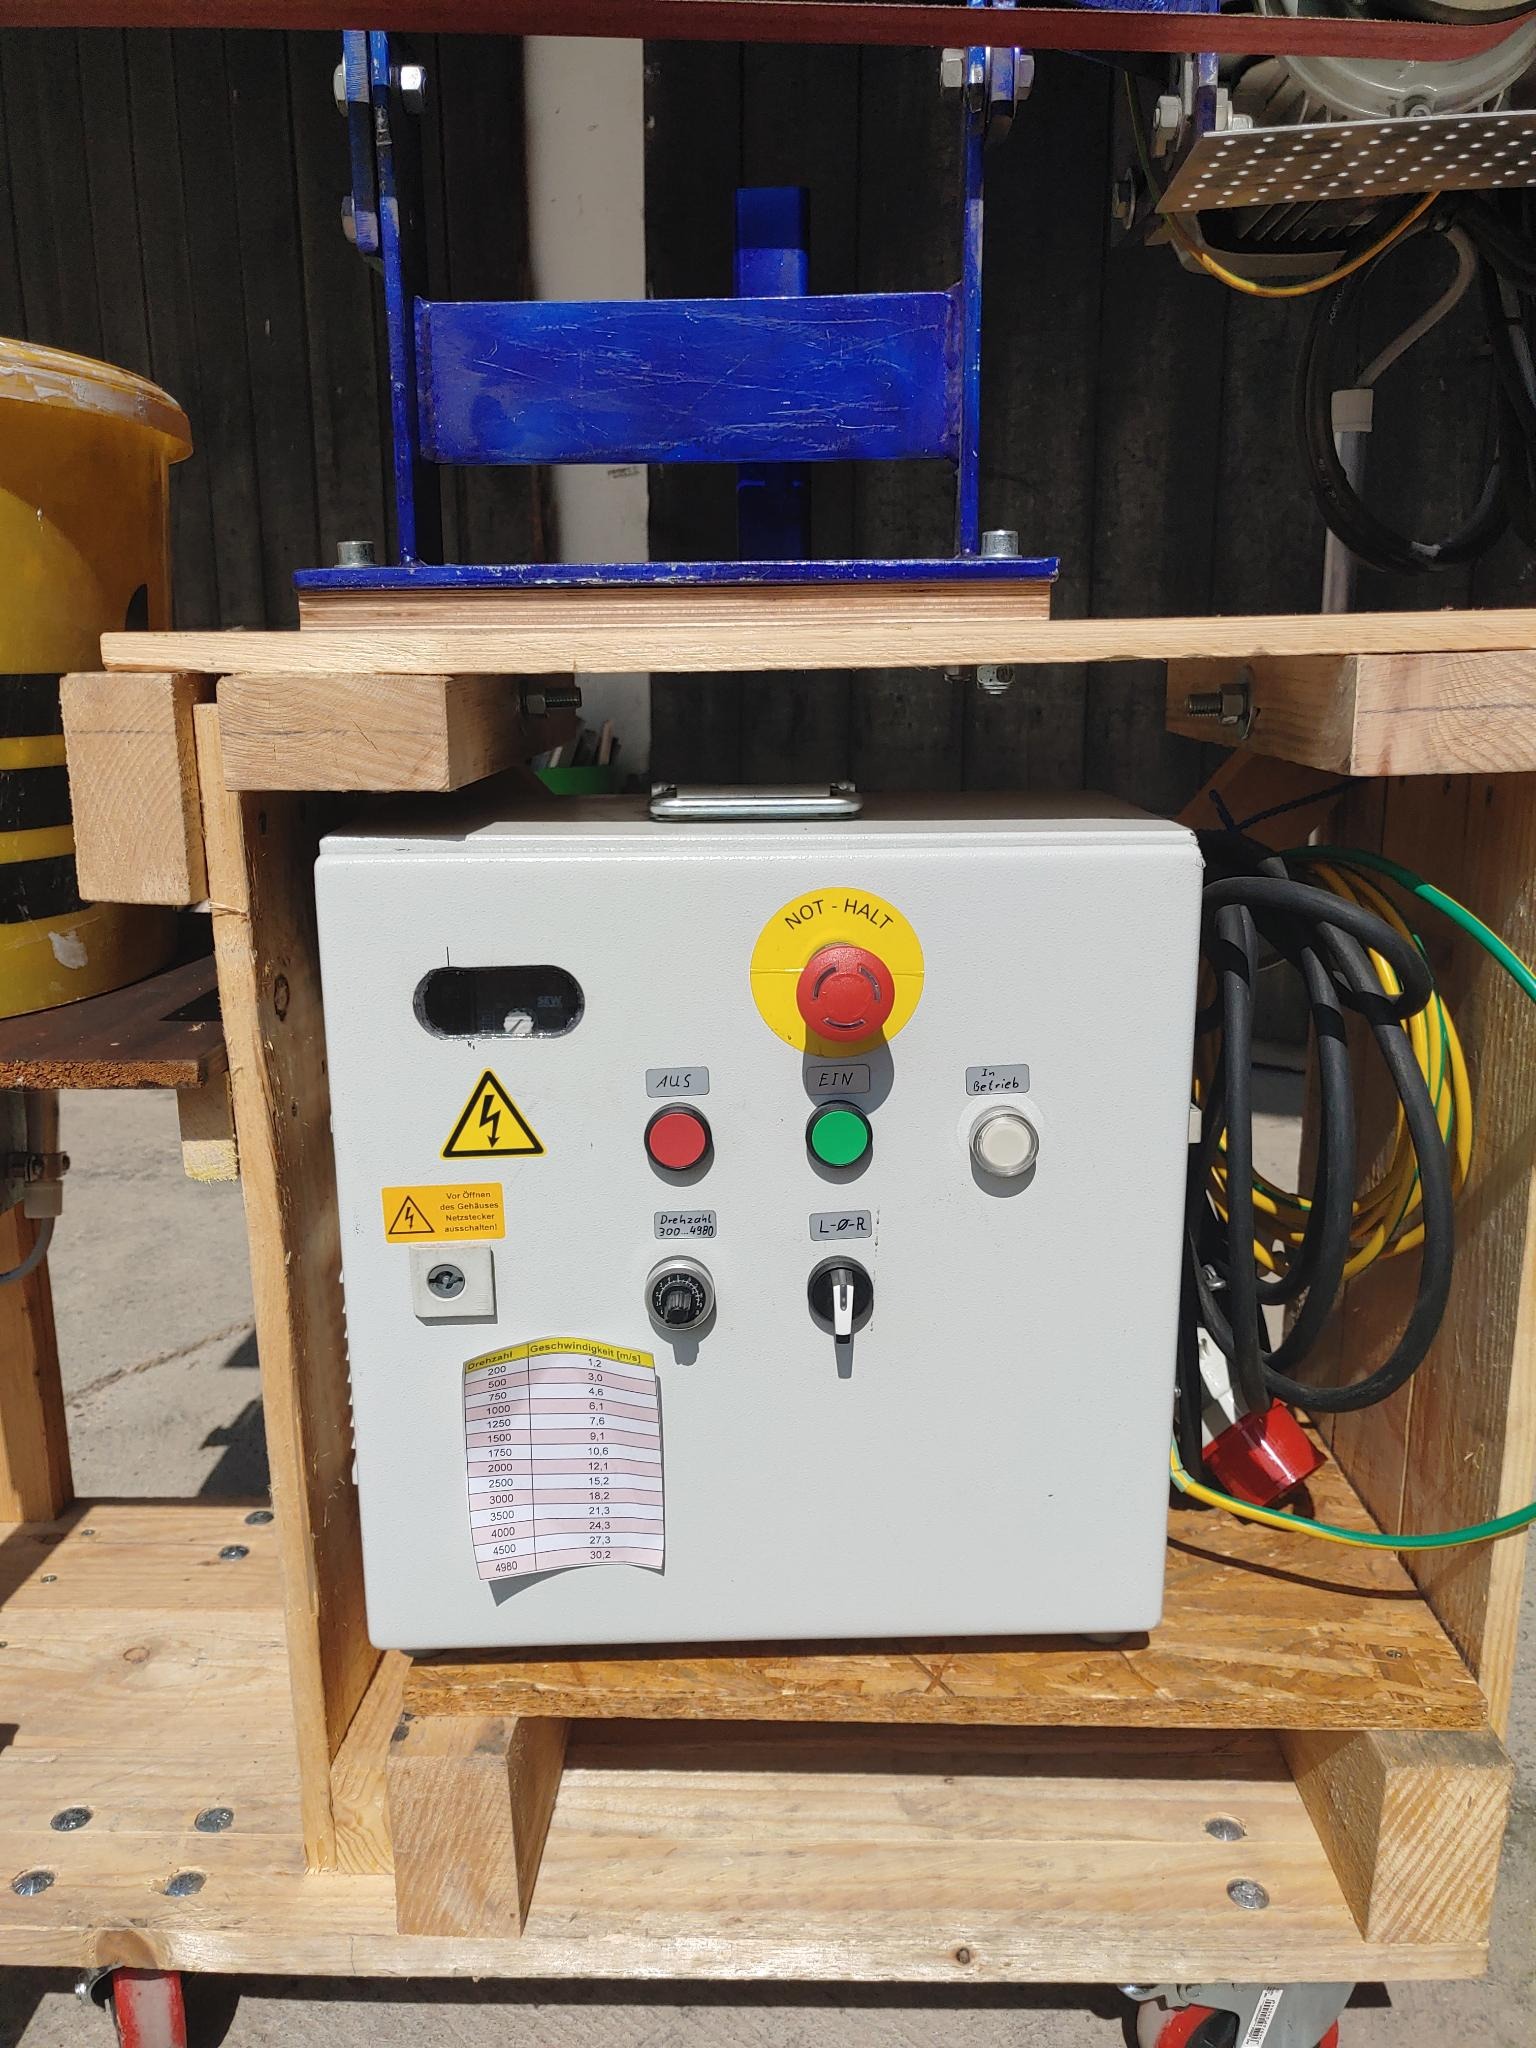
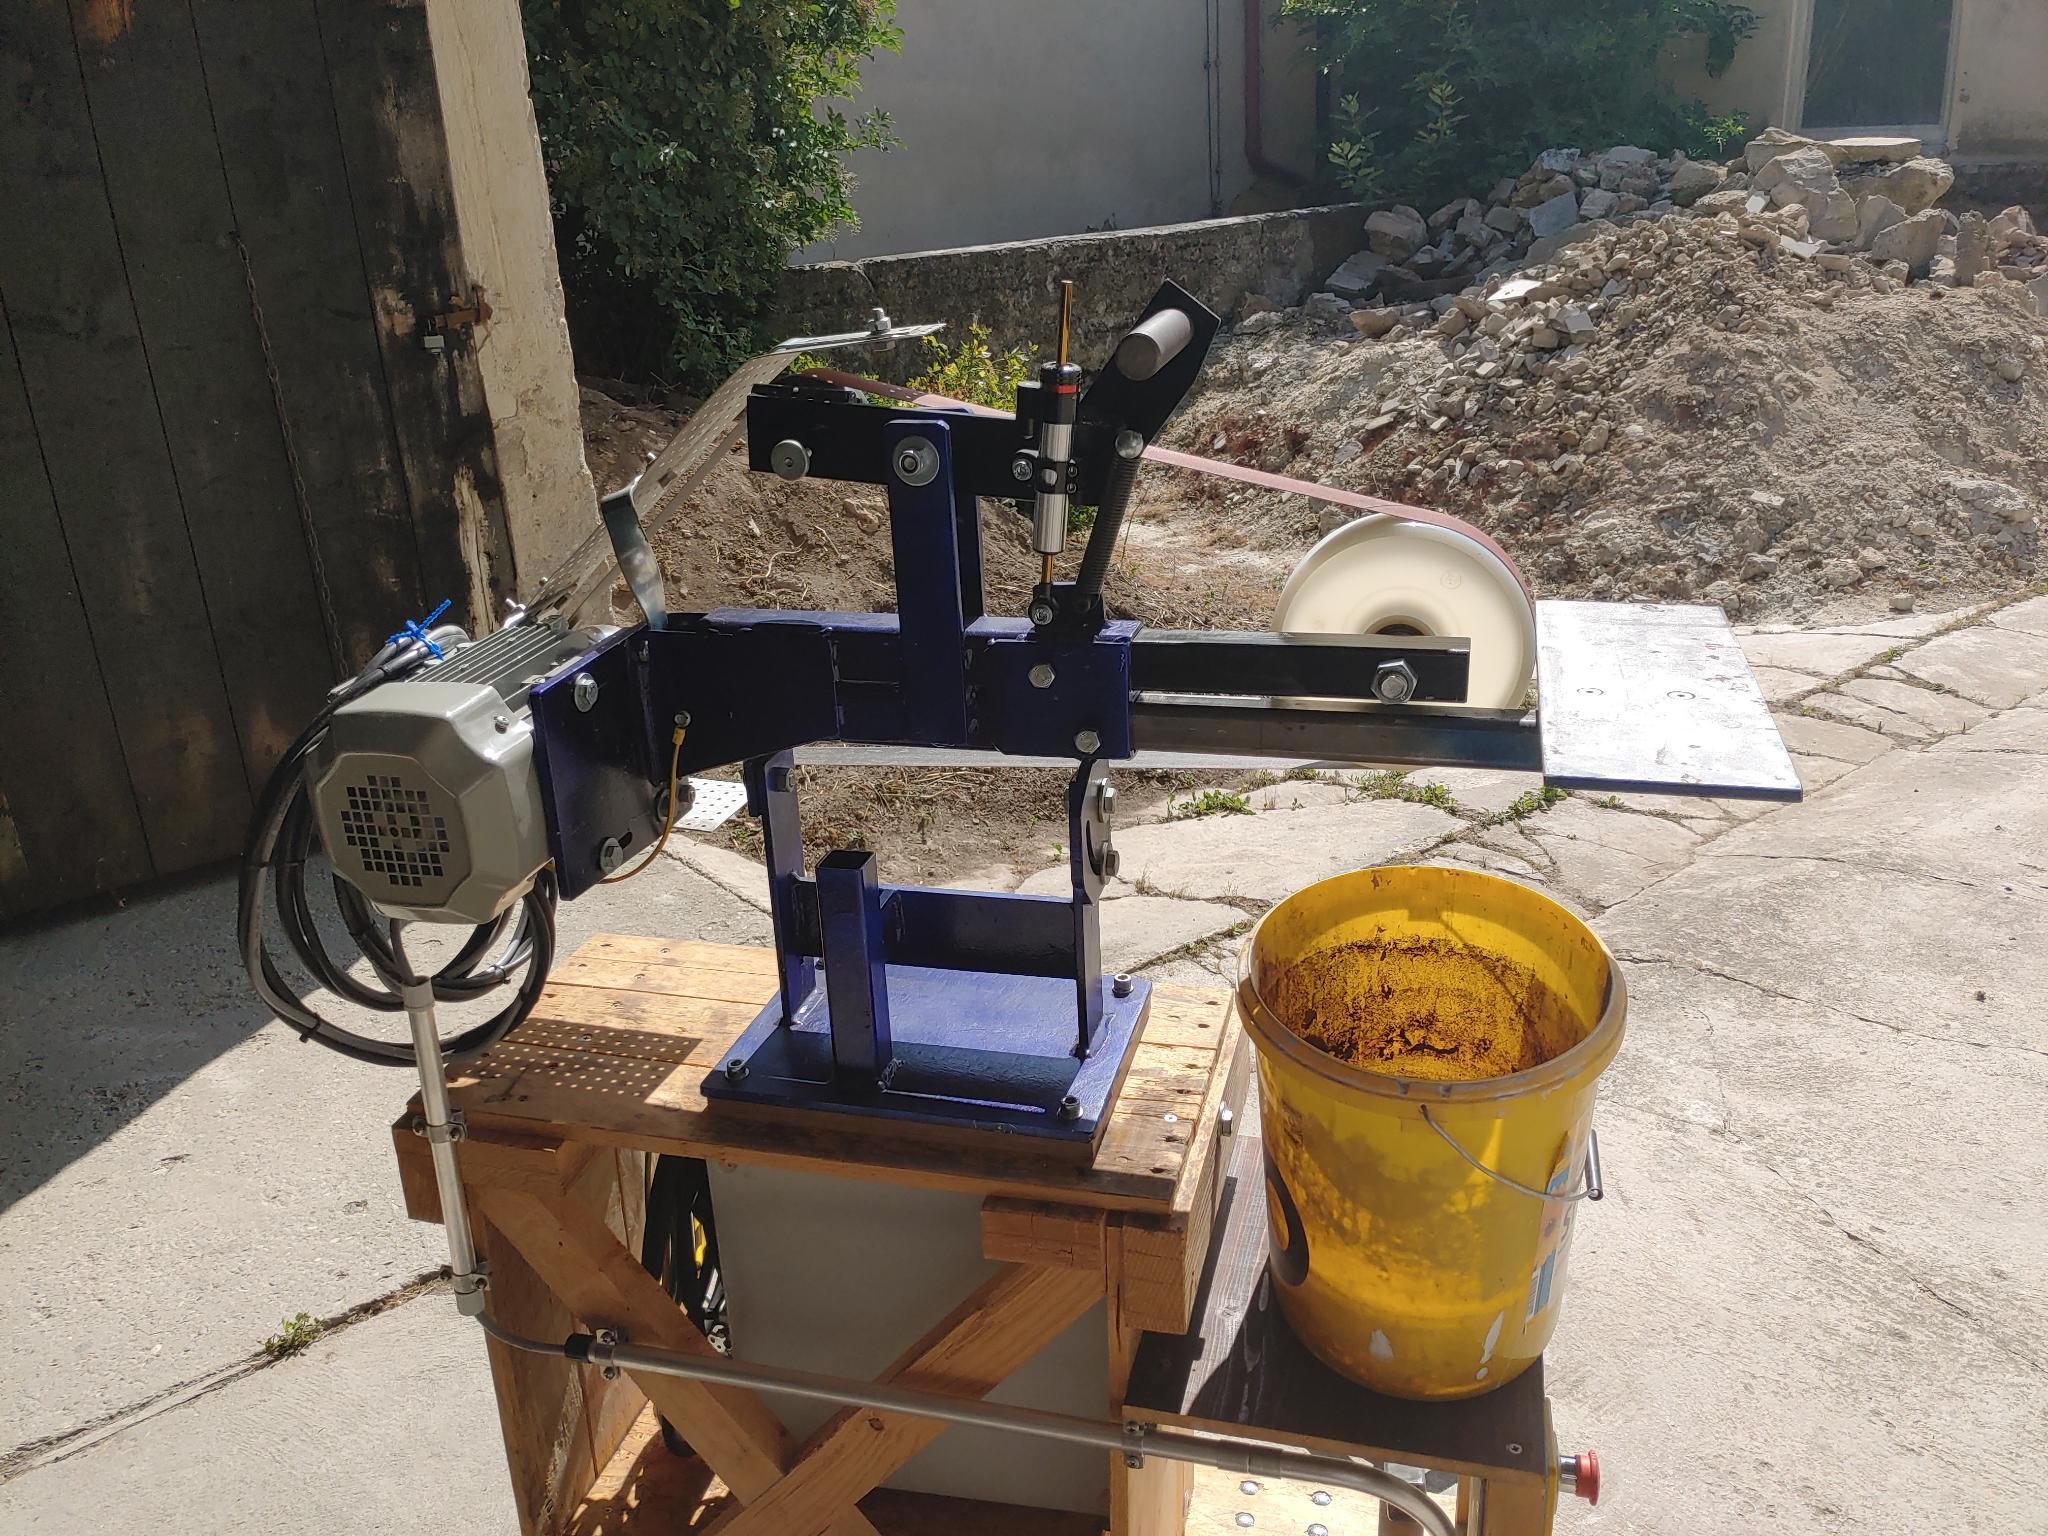
I will be honest. It was a lot of work, but in the end I am very happy with my belt grinder. After a quick paint job and building a cart for the grinder, it was ready for use. Down below are some pictures of the finished belt grinder with the wheel attached to the front, and the typical flat grinding surface removed.
Some remarks
In hindsight one would do some things differently, so here are my personal improvements, which were added as after thoughts.
- Adding a damper (!). This was a game changer, as the belt began to vibrate pretty hard, when hitting the 30 m/s max speed.
- Add a belt guard. You can see it around the motor, but I might wanna add another one in the front, so that in the unlikly event that a belt would rip, it doesn´t whip me in the face
Plans
If you want to build such a belt grinder yourself feel free to grab the CAD-files and the schematics from here:
https://github.com/Sebastian-Schuetz/DIY-3kW-Belt-Grinder
And leave a comment with your build!!