Intro
We write the year 2015. Christmas and New Years Eve are just around the corner. And we had no idea, what we could wish for… Until we stumbled across this video from “The King of Random”.
HHO Generator - Water to Fuel Converter
Das Video wird erst nach deinem Klick von YouTube geladen.
So with the prospect of an alternative for weak fire crackers at new years eve, we set out to build our own version of this Oxy-Hydrogen Generator. Just a lot cheaper (with readily available materials in Germany) and with metric dimensions!
Material list
After carefully studying the video we came up with the following material list.
Stainless steel sheets
These will be the electrodes for the generator. We cut them out with an angel grinder and lots of patience and later on dulled several drill bits, while forcing two 10 mm hole through the stainless steel sheets. Lesson learned for the next time: have everything laser cut from 1 mm sheet stock.
| Count | Title | Size |
|---|---|---|
| 12 | Stainless steel sheet | 160 mm × 80 mm × 1 mm |
| 4 | Stainless steel sheet | 160 mm × 40 mm × 1 mm |
| 1 | Stainless steel sheet | 160 mm × 25 mm × 1 mm |
| 1 | Stainless steel sheet | 120 mm × 25 mm × 1 mm |
| 1 | Stainless steel sheet | 90 mm × 25 mm × 1 mm |
Plumbing material
As body for the generator we used “HT-Rohr”. It is basically a standardized sewage pipe, which one can easily put together, with the added benefit of if being water tight. We used one with 110 mm in diameter, but it ended up being a bit tight and forced us to grind down the edges of the generator core. So keep this in mind.
| Count | Title | Size |
|---|---|---|
| 1 | HT Pipe DN 110 | ~ 200 mm |
| 1 | HT Pipe DN 50 | ~ 150 mm |
| 2 | Endcap for DN 110 | |
| 2 | Endcap for DN 50 | |
| 3 | 90° Adapter for 8 mm tubing | |
| 1 | 8 mm tube | 1500 mm |
Small parts
The rest are basically small parts to put everything together. In the video, they used potassium hydroxide, but natrium hydroxide was easier to get (we already had some, from making pretzels), so we went with it. For the stainless steel nuts, fewer were used, but 40 was the standard packaging size.
| Count | Title | Size |
|---|---|---|
| 1 | M10 plastic threaded rod | ~ 200 mm |
| 40 | M10 stainless steel nuts | |
| 20 | M10 plastic washers | |
| 2 | M10 stainless steel screws | M10 × 50 mm |
| 1.5 L | Distilled water | |
| 4 Teaspoons | NaOH |
Power source
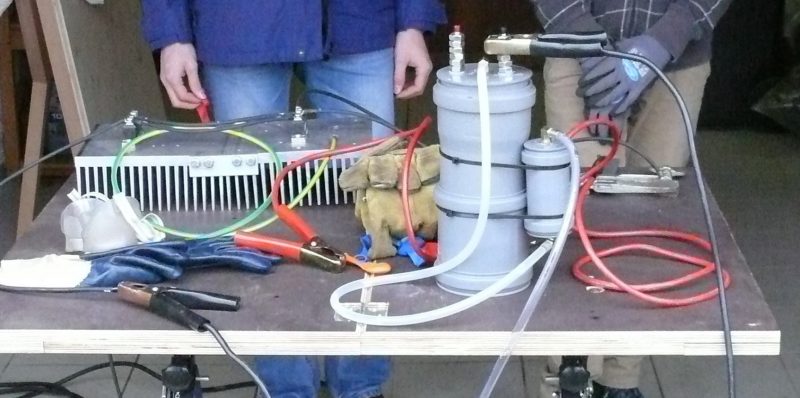
So, now for the interesting part. How do we power this puppy? In the video a car battery was used, but as we were for some reason not permitted to hook the generator to our parents car, we had to look for an alternative power source. Luckily for us we had another low voltage, high current source at home. Our welding transformer. And we also had some Semikron rectifier modules laying around which could handle the current (SKKD 81/12, rated at 1200 V at 80 A).
After setting them up as a full bridge rectifier and mounting them on a large heat sink, our setup was complete.
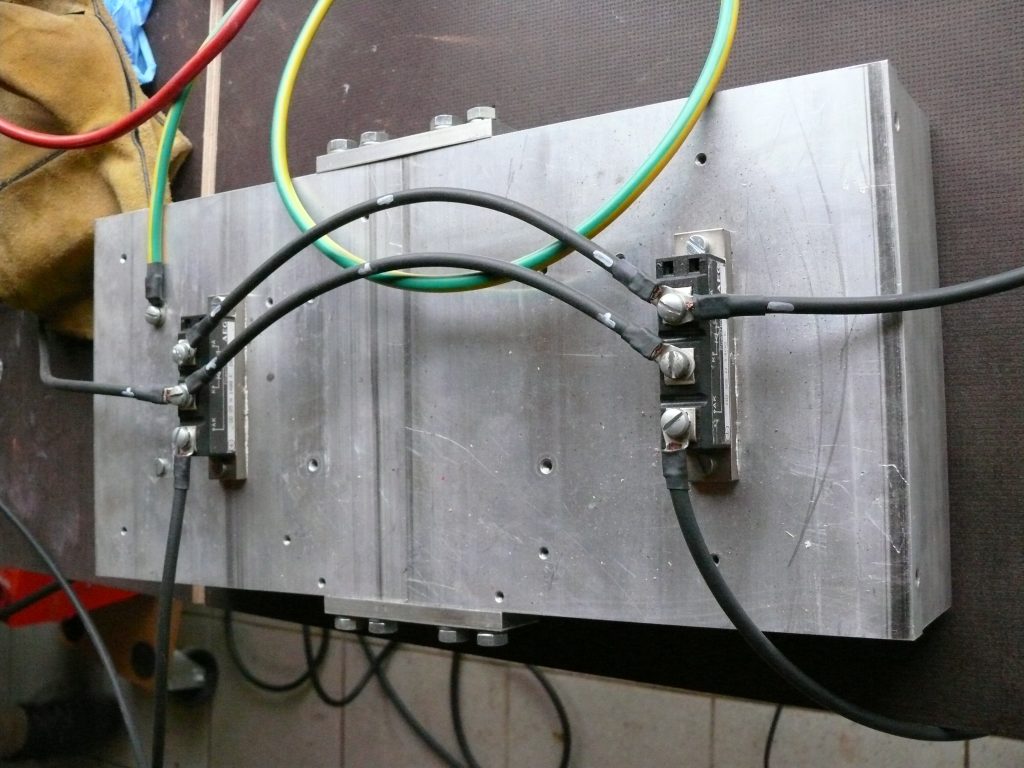
One might argue, that we went a bit over board with the size of the heat sink, but that was what we had on hand, so…
Finished Generator
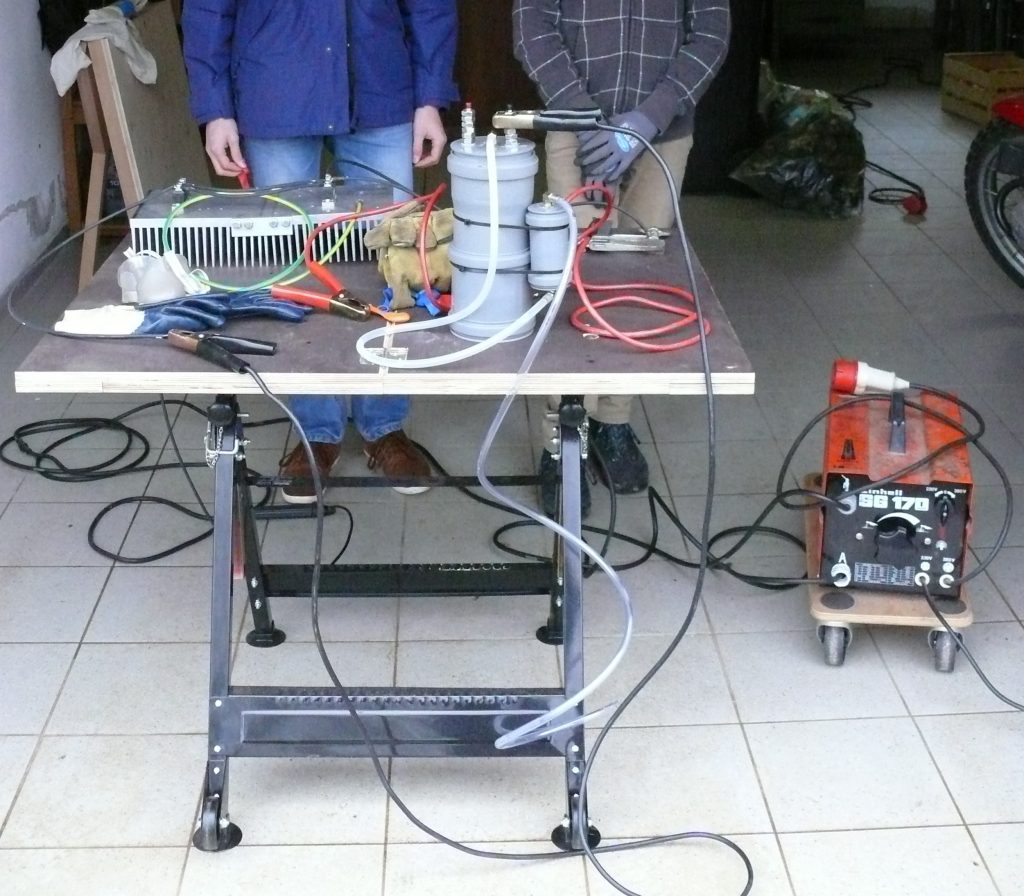
How did it perform?
Great. Our Oxy-Hydrogen-Generator definitely made New Years Eve a lot more fun. Filling balloons with hydrogen and oxygen is indeed a great past time, but one probably should have a way to remotely set the balloons on fire… Or so we heard…
The generator produces roughly 1.5 L of Oxy-Hydrogen per minute, when feed 60 A. Sadly we had no way of measuring the actual power draw, but as our rectifier was still cold to the touch, when in use, where probably is still some potential left in this setup.